This material is covered in my GL1000 Carb Rebuild Video, but just in case you haven’t made that great investment…
The plastic “buttons” on the GL1000 carb tops are not separately replaceable. They are swaged into the tops during manufacturing. Here are your options for a broken carb top plastic “button.”
- Pete Boody has developed a nice repair option.
- Repair with epoxy (clear looks best and can be buffed to achieve a nearly original looking sheen). Do this off the bike and take care not to block the tiny vacuum transfer port in the cap.
- Replace with used cap and CV slide. These are matched pairs…machined to a very tight tolerance and weight matched by the factory…never mix and match slides and caps.
- New OEM cap/slide/needle assembly…very spendy.
All GL1000 carb caps caps are functionally equivalent (except for clearance matching). Caps and CV slides are matched pairs machined to a very tight tolerance and weight matched by the factory. They should never be interchanged.
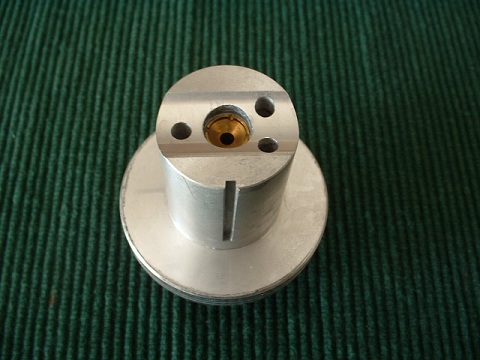
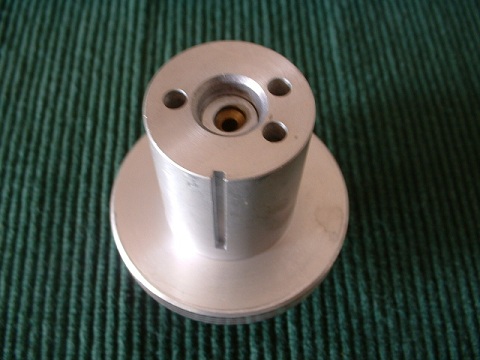
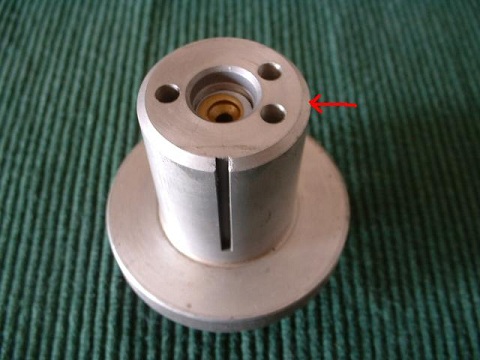
There are actually 3 types of CV slides fitted to the 5 years of production on GL1000s. These are shown in the pictures below. Never interchange CV slide types as this will affect cylinder balance and introduce tuning problems!
‘75 models have a “scalloped” cut-out on bottom surface of CV slide (note brass insert)
’75 design design permits slightly better flow at wide open throttle
’76 – ’77 models have a CV slide with flat bottom*
*Some ’76 -’77 CV slides have brass inserts and some do not. They are functionally equivalent.
’78-’79 models have a CV slide with radiused bottom edge + Keihin reverted to brass inserts
More on the issue of fit…
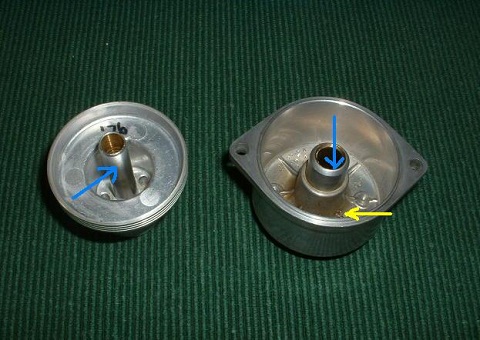
The close tolerances are especially critical in the CV slide center “piston” to cap “bore” aspect. This area is the source of most CV slide binding and sticking and this is where your cleaning / polishing efforts should be concentrated. The clearance between the outer wall of the cap and the CV skirt is much greater. However, most amateur mechanics erroneously focus their cleaning / polishing efforts there.
Blue arrows in the picture above show where you should focus your cleaning / polishing efforts
Take care to keep small relief port (yellow arrow) clear
Note to Restorers Regarding “Correct” Cap Orientation
Carb caps can be mounted in one of two different orientations with respect to the Keihin logos. Either way is fine. They are functionally equivalent.
Hard evidence is somewhat conflicting, but the consensus of opinion for “correct” restorations (and my practice) is to mount the caps so that the cap logos are right side up on the left carbs (carbs #2 and #4) and upside down on the right carbs (carbs #1 and #3)…as viewed by the rider in riding position.


I just took apart a 1976 GL1000 carbs to find a mess. The previous owner claimed they had been freshly rebuilt and tested fine, but I opened them to find them completely full of gunk and corrosion. They looked as if completely stock and never touched condition wise. But I did notice that the front 2 CV slides had the curved bottom where the rear 2 slides had the flat bottom. I assume this is not factory based on the above reading ’75 is curved bottom and ’76 should be flat bottom slides only? Is there a way to tell which slide should be paired with the matched cap in case they were mixed up as well? Could I measure the center piston to cap bore tolerance and be able to tell by the difference between them? Is there any way to find what that factory tolerance should be so that I can confirm things are correct? This bike was just given to us because the previous owner gave up on it, and wanted to put it in someones hands he knew could do it justice. He had it go thru 2 well know motorcycle mechanics in our area only to have one give up and the 2nd take the bike from running poorly to not at all, yet still gave him a $700 bill for breaking what ever they did. Right off the bat I noticed broken wire to the coil condenser as well as the tank was clogged from the sealer they added and gas would barely drain intermittently. I chased that problem to a clogged fuel pump, and finally to the entire left side of the carbs not spraying gas in the cylinders. After reading some of your articles on these carbs and how temper mental they can be when not setup correctly. I am concerned there could be all sorts of parts in the wrong place (secondary & primary air jets, CV slides, caps, etc.) or possibly parts from the wrong years installed all together on here. I am almost tempted to just look for a different set of stock carbs and going from there. But after this many years you never know what yahoos gotten their hands on these bikes until you get the lid off and see whats up. If you know a better place to find some used, stock carbs for a 1976 GL1000, other than ebay, please let me know. Everything on eBay seems very rough and most look already stripped into piece and mixed up much like the set I already have. Thanks in advance for any advice you may have.